这篇文章主要为大家详细介绍了PHP如何使用imap_open实现读取QQ邮箱功能,文中的示例代码讲解详细,感兴趣的小伙伴可以跟随小编一起学习一下
PHP代码:
/** PHP使用imap_open读取QQ邮箱imap_open 官方文档:https://www.php.net/function.imap_open*/ function parse_mailstr($subject) {$a = explode('?',$subject);$n = count($a);$a = $a[$n-2];return base64_decode($a);} function recevie_email() {// 腾讯 QQ 邮箱为例。// 官方文档:https://service.mail.qq.com/detail/0/339$mailbox = '{imap.qq.com:993/imap/ssl}INBOX';// 要读取的邮箱$user = 'youremail@qq.com';// 邮箱密码或授权码。邮箱授权码生成路径如下:// 进入 QQ 邮箱,依次进入【设置】-【账号】-【POP3/IMAP/SMTP/Exchange/CardDAV/CalDAV服务-管理服务】-【安全设置】-【生成授权码】$password = '邮箱密码或授权码';$inbox = imap_open($mailbox, $user, $password) or die(imap_last_error());if ($inbox) {$numMsg = imap_num_msg($inbox);echo '<dt>共有 '.$numMsg.' 条未读邮件</dt>'; for ($i = 1; $i <= $numMsg; ++$i) {$hd = imap_headerinfo($inbox, $i); $subject = parse_mailstr($hd->subject); echo '<dd>';echo "标 题:$subject <br />";echo '发件人:'. $hd->from[0]->mailbox .'@'. $hd->from[0]->host .'<br />';if (isset($hd->date)) {$date = strtotime($hd->date);$date = date('Y-m-d H:i:s',$date);echo "时 间:$date <br />";}echo '</dd>';} imap_close($inbox);}}HTML代码:
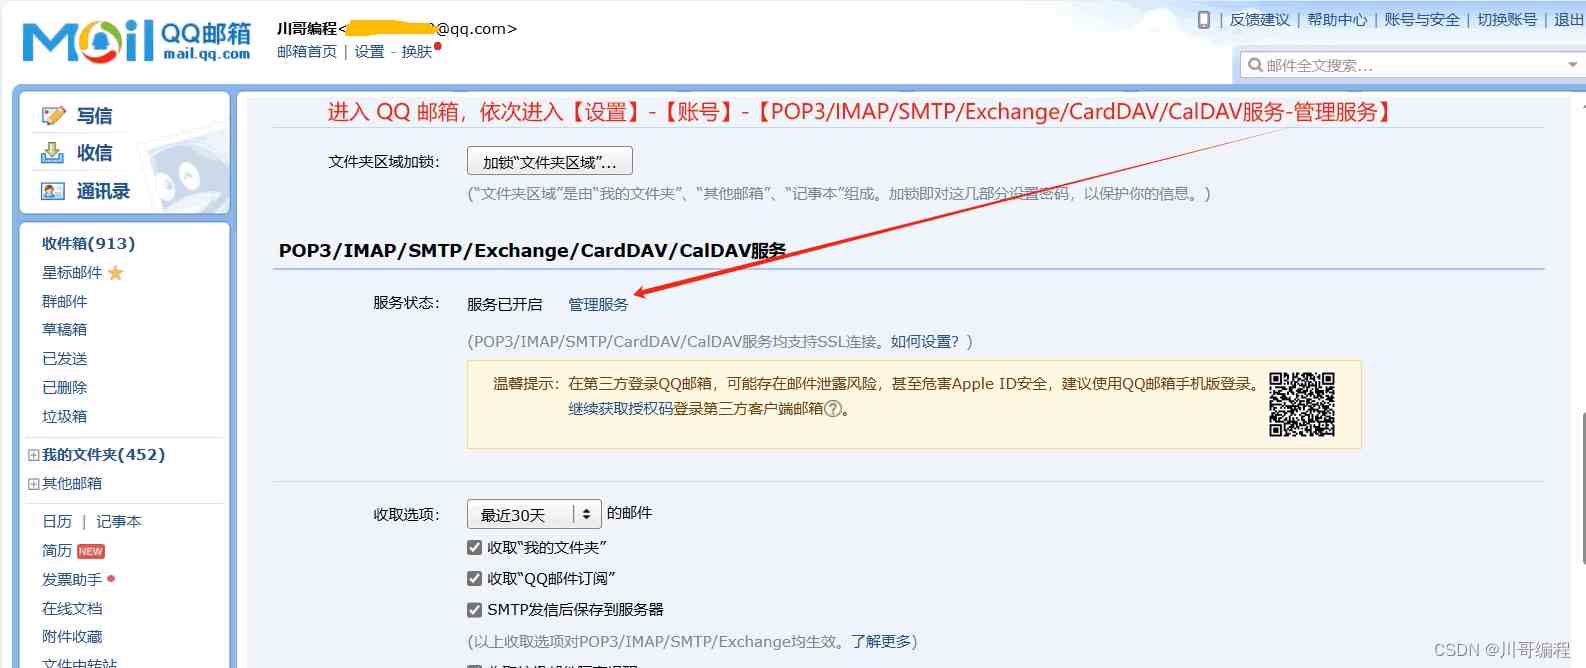
<!DOCTYPE html><html><head><meta http-equiv="Content-Type" content="text/html; charset=UTF-8" /><meta name="viewport" content="width=device-width,user-scalable=yes" /><meta name="renderer" content="webkit" /><style>dd{border-bottom: 1px solid #888; padding-bottom: 10px; padding-top: 10px;}</style><title>PHP使用imap_open读取QQ邮箱</title></head><body><dl><?php recevie_email();?></dl></body></html>获得邮箱授权码方法:
进入QQ邮箱,依次进入【设置】-【账号】-【POP3/IMAP/SMTP/Exchange/CardDAV/CalDAV服务-管理服务】-【安全设置】-【生成授权码】。

")
")
")
")