本文主要介绍了Vue.js实现全屏背景图片滑动切换特效,文中通过示例代码介绍的非常详细,对大家的学习或者工作具有一定的参考学习价值,需要的朋友们下面随着小编来一起学习学习吧 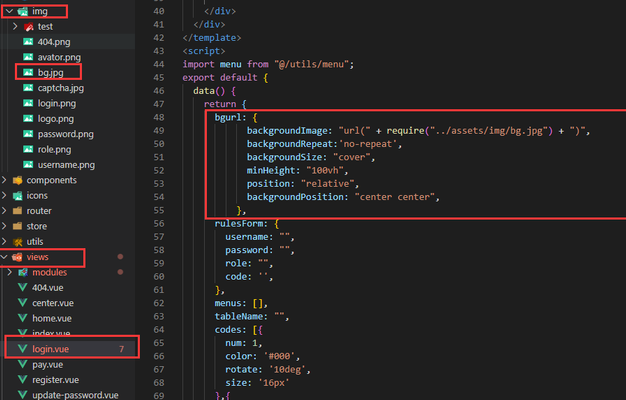

目录
步骤详细代码1. 创建 Vue 项目2. 准备图片资源3. 编写组件代码4. 在App.vue中使用组件代码注释使用说明使用 Vue 实现全屏背景图片滑动切换特效的详细步骤、代码、注释和使用说明。
步骤
创建 Vue 项目:使用 Vue CLI 创建一个新的 Vue 项目。准备图片资源:准备好要用于背景切换的图片,并将它们放在项目的合适目录下。编写 HTML 结构:创建一个包含图片容器和导航按钮的 HTML 结构。编写 CSS 样式:设置全屏背景和图片切换动画效果。编写 Vue 组件逻辑:实现图片切换的逻辑。详细代码
1. 创建 Vue 项目
首先,确保已经安装了 Vue CLI。如果没有安装,可以使用以下命令进行安装:
npm install -g @vue/cli
然后创建一个新的 Vue 项目:
vue create background-slide-effectcd background-slide-effect
2. 准备图片资源
在src/assets目录下创建一个images文件夹,并将你要使用的图片放入其中。例如,有三张图片:image1.jpg、image2.jpg和image3.jpg。
3. 编写组件代码
在src/components目录下创建一个BackgroundSlider.vue组件,代码如下:
<template> <div class="d65c-1e6b-218c-712e background-slider"> <!-- 图片容器 --> <div v-for="(image, index) in images" :key="index" :class="1e6b-218c-712e-0199 { 'background-image': true, 'active': currentIndex ="="=" index }" :style="{ backgroundImage: `url(${require(`@/assets/images/${image}`)})` }" ></div> <!-- 导航按钮 --> <div class="218c-712e-0199-7e91 navigation"> <button @click="prevImage" :disabled="currentIndex === 0">上一张</button> <button @click="nextImage" :disabled="currentIndex === images.length - 1">下一张</button> </div> </div></template><script>export default { name: 'BackgroundSlider', data() { return { // 图片数组,存储要显示的图片文件名 images: ['image1.jpg', 'image2.jpg', 'image3.jpg'], // 当前显示的图片索引 currentIndex: 0 }; }, methods: { // 切换到上一张图片 prevImage() { if (this.currentIndex > 0) { this.currentIndex--; } }, // 切换到下一张图片 nextImage() { if (this.currentIndex < this.images.length - 1) { this.currentIndex++; } } }};</script><style scoped>.background-slider { position: relative; width: 100vw; height: 100vh; overflow: hidden;}.background-image { position: absolute; top: 0; left: 0; width: 100%; height: 100%; background-size: cover; background-position: center; opacity: 0; transition: opacity 1s ease-in-out;}.background-image.active { opacity: 1;}.navigation { position: absolute; bottom: 20px; left: 50%; transform: translateX(-50%); display: flex; gap: 10px;}.navigation button { padding: 10px 20px; border: none; background-color: rgba(0, 0, 0, 0.7); color: white; cursor: pointer; border-radius: 5px;}.navigation button:disabled { opacity: 0.5; cursor: not-allowed;}</style>4. 在App.vue中使用组件
<template> <div id="app"> <BackgroundSlider /> </div></template><script>import BackgroundSlider from './components/BackgroundSlider.vue';export default { name: 'App', components: { BackgroundSlider }};</script><style>#app { font-family: Avenir, Helvetica, Arial, sans-serif; -webkit-font-smoothing: antialiased; -moz-osx-font-smoothing: grayscale; text-align: center; color: #2c3e50; margin-top: 60px;}</style>代码注释
HTML 部分:
v-for指令用于循环渲染图片容器,v-bind:key确保每个图片容器有唯一的标识。:class绑定active类,用于控制当前显示的图片。:style绑定backgroundImage样式,动态设置背景图片的 URL。JavaScript 部分:
data函数返回组件的数据,包括图片数组和当前显示的图片索引。prevImage方法用于切换到上一张图片,nextImage方法用于切换到下一张图片。CSS 部分:
.background-image类设置图片容器的基本样式,包括绝对定位、背景大小和透明度。.background-image.active类设置当前显示图片的透明度为 1,实现淡入效果。.navigation类设置导航按钮的样式,包括定位和布局。使用说明
将准备好的图片放入src/assets/images目录下,并在BackgroundSlider.vue组件的images数组中添加图片文件名。运行项目:npm run serve打开浏览器,访问
http://localhost:8080,即可看到全屏背景图片滑动切换特效。可以点击“上一张”和“下一张”按钮来切换图片。")
")
")
")